Introduction
In this tutorial, we’ll walk through using the FuseBox REST API in a Next.js application to consume the Trade v2 API ”Get a quote for buying or selling any ERC20 token” endpoint. We’ll utilize React hooks to manage the State and display the response in a table format.Prerequisites
Before starting, ensure you have the following: Node.js installed on your machine.- Code Editor: Use your preferred code editor; VS Code is recommended.
- An EOA wallet with a private key. You can use an existing one or create a new wallet.
- A basic understanding of React.js and Next.js.
- An API key from the Fuse Console. Get one here.
Step 1: Set Up a Next.js Project
If you haven’t already set up a Next.js project, you can create one using the following commands: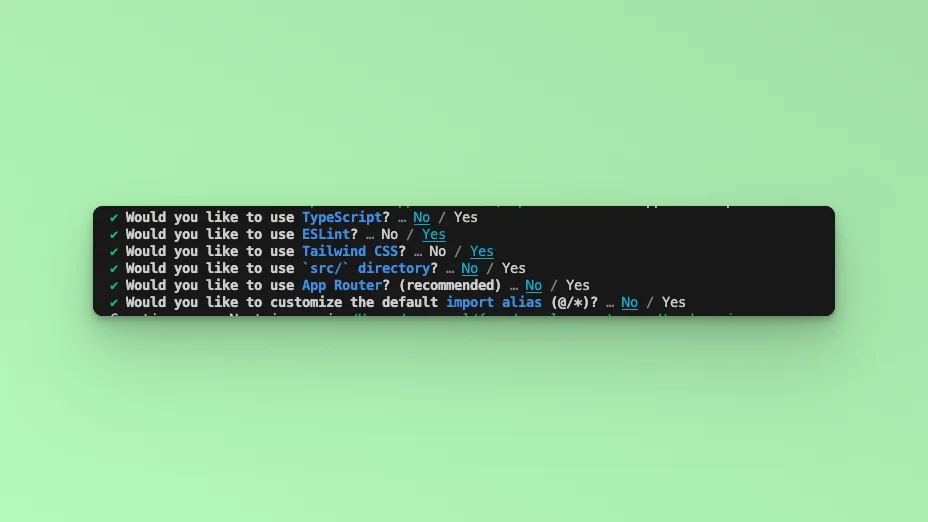
index.js file.
Step 2: API Endpoint
In this example tutorial, we are going to build a Form element that takes in Tokens for BUY and SELL orders and an amount and returns the response in a table. We will use the Axios library to call the Fuse REST APIs and return the responses. The endpoint that we will use in this tutorial is the Get List of Tokens Owned by Address. The base URL is https://api.fuse.io/api/v1/trade/quote, and it takes three required parameters: buyToken, sellToken, and amount. You can get an API key from Console. The URL, when appended with the parameters, for example: https://api.fuse.io/api/v1/trade/quote?apiKey=YOUR_API_KEY&sellToken=FUSE&buyToken=0x34Ef2Cc892a88415e9f02b91BfA9c91fC0bE6bD4&sellAmount=1000000000000000000Step 2: Install Axios
Axios is a promise-based HTTP client for the browser and Node.js. Install Axios to handle the API requests:Step 3: Fetch the API response.
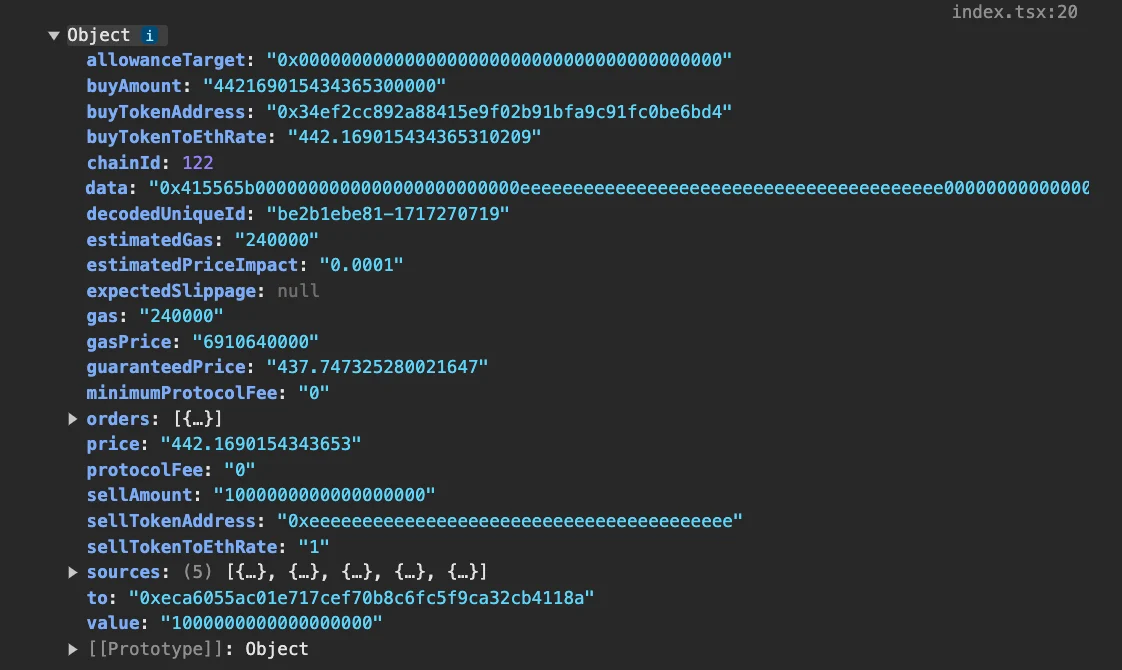
In this step, we will test calling the API and parsing the response to the web browser console. Add the following code to theindex.js file inside the Home() {} Component.
http://localhost:3000, and open the developer console. You will find the results logged to the console.
Step 4: Implementing the Application
State Management with React Hooks
We use theuseState hook to manage the form inputs and API response data. This allows us to keep track of the user inputs and the API results.
inputsstores the values of the form fields.resultwill hold the data fetched from the API.
Handling Form Input Changes
ThehandleInputChange function updates the input state whenever a user types into the form fields. This function is triggered on every keystroke, ensuring that the state is always up-to-date with what the user has entered.
Submitting the Form
ThehandleSubmit function is called when the user submits the form. It prevents the default form submission event, constructs the API request, and handles the API response.
result state, and if an error occurs, it is handled.
The next step is to add the returned in the try/catch block in the handleSubmit function. Update the try/catch
Step 5: Building the User Interface
The user interface uses HTML form elements styled with Tailwind CSS. It includes input fields for the sellToken, buyToken, and sellAmount, and a submit button. Add thediv below inside the return.
handleInputChange function.
The form submission is linked to the handleSubmit function.
Displaying the API Response
Once the API data is fetched, it is displayed in a table format using Tailwind CSS for styling. This part of the UI will render conditionally based on whether theresult state is populated. Add the code below in the return, after the form element.
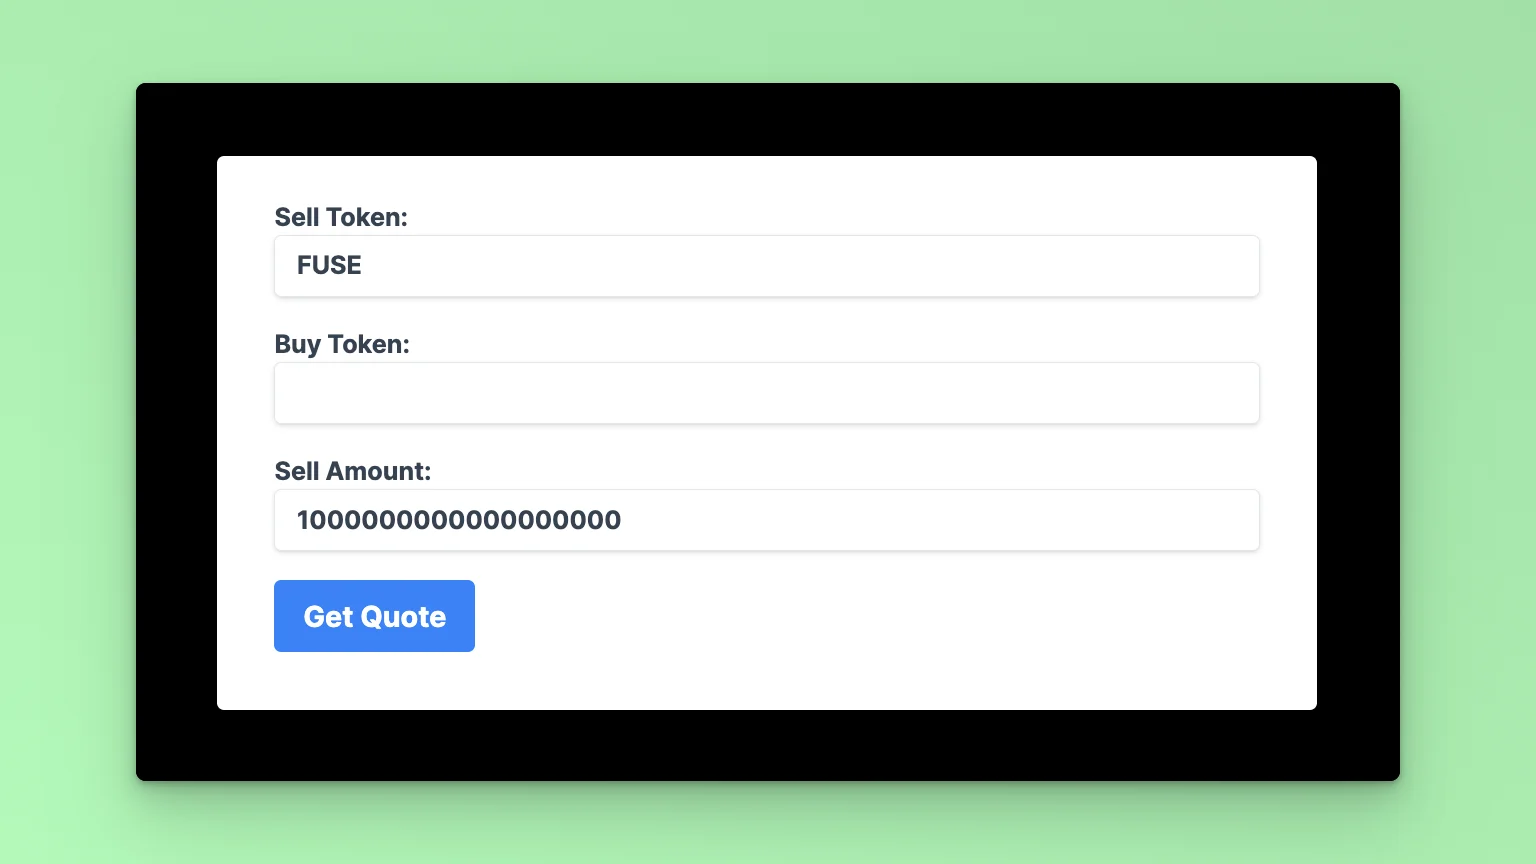
0x34Ef2Cc892a88415e9f02b91BfA9c91fC0bE6bD4
The amount is 1 Fuse Token to 18 Decimal places. Click the Get Quote button to see the reruned results.