Introduction
In this tutorial, we’ll walk through fetching NFTs held by an Address using the FuseBox REST API.Prerequisites
Before starting, ensure you have the following:- Node.js installed on your machine.
- Code Editor: Use your preferred code editor. VS Code is recommended.
- An EOA wallet with a private key. You can use an existing one or create a new wallet.
- A basic understanding of React.js and Next.js.
- An API key from the Fuse Console. Get one here.
Step 1: Set Up a Next.js Project
If you haven’t already set up a Next.js project, you can create one using the following commands: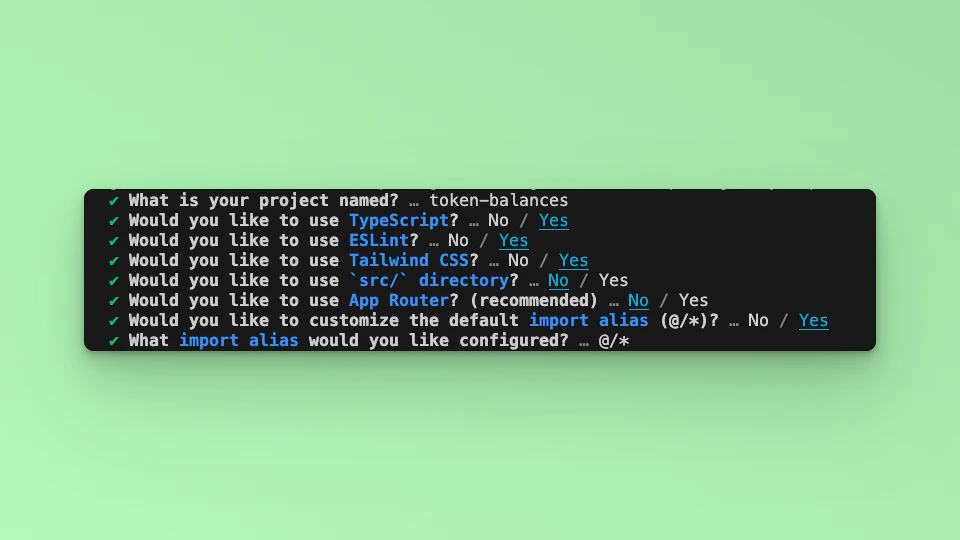
Step 2: Update the UI
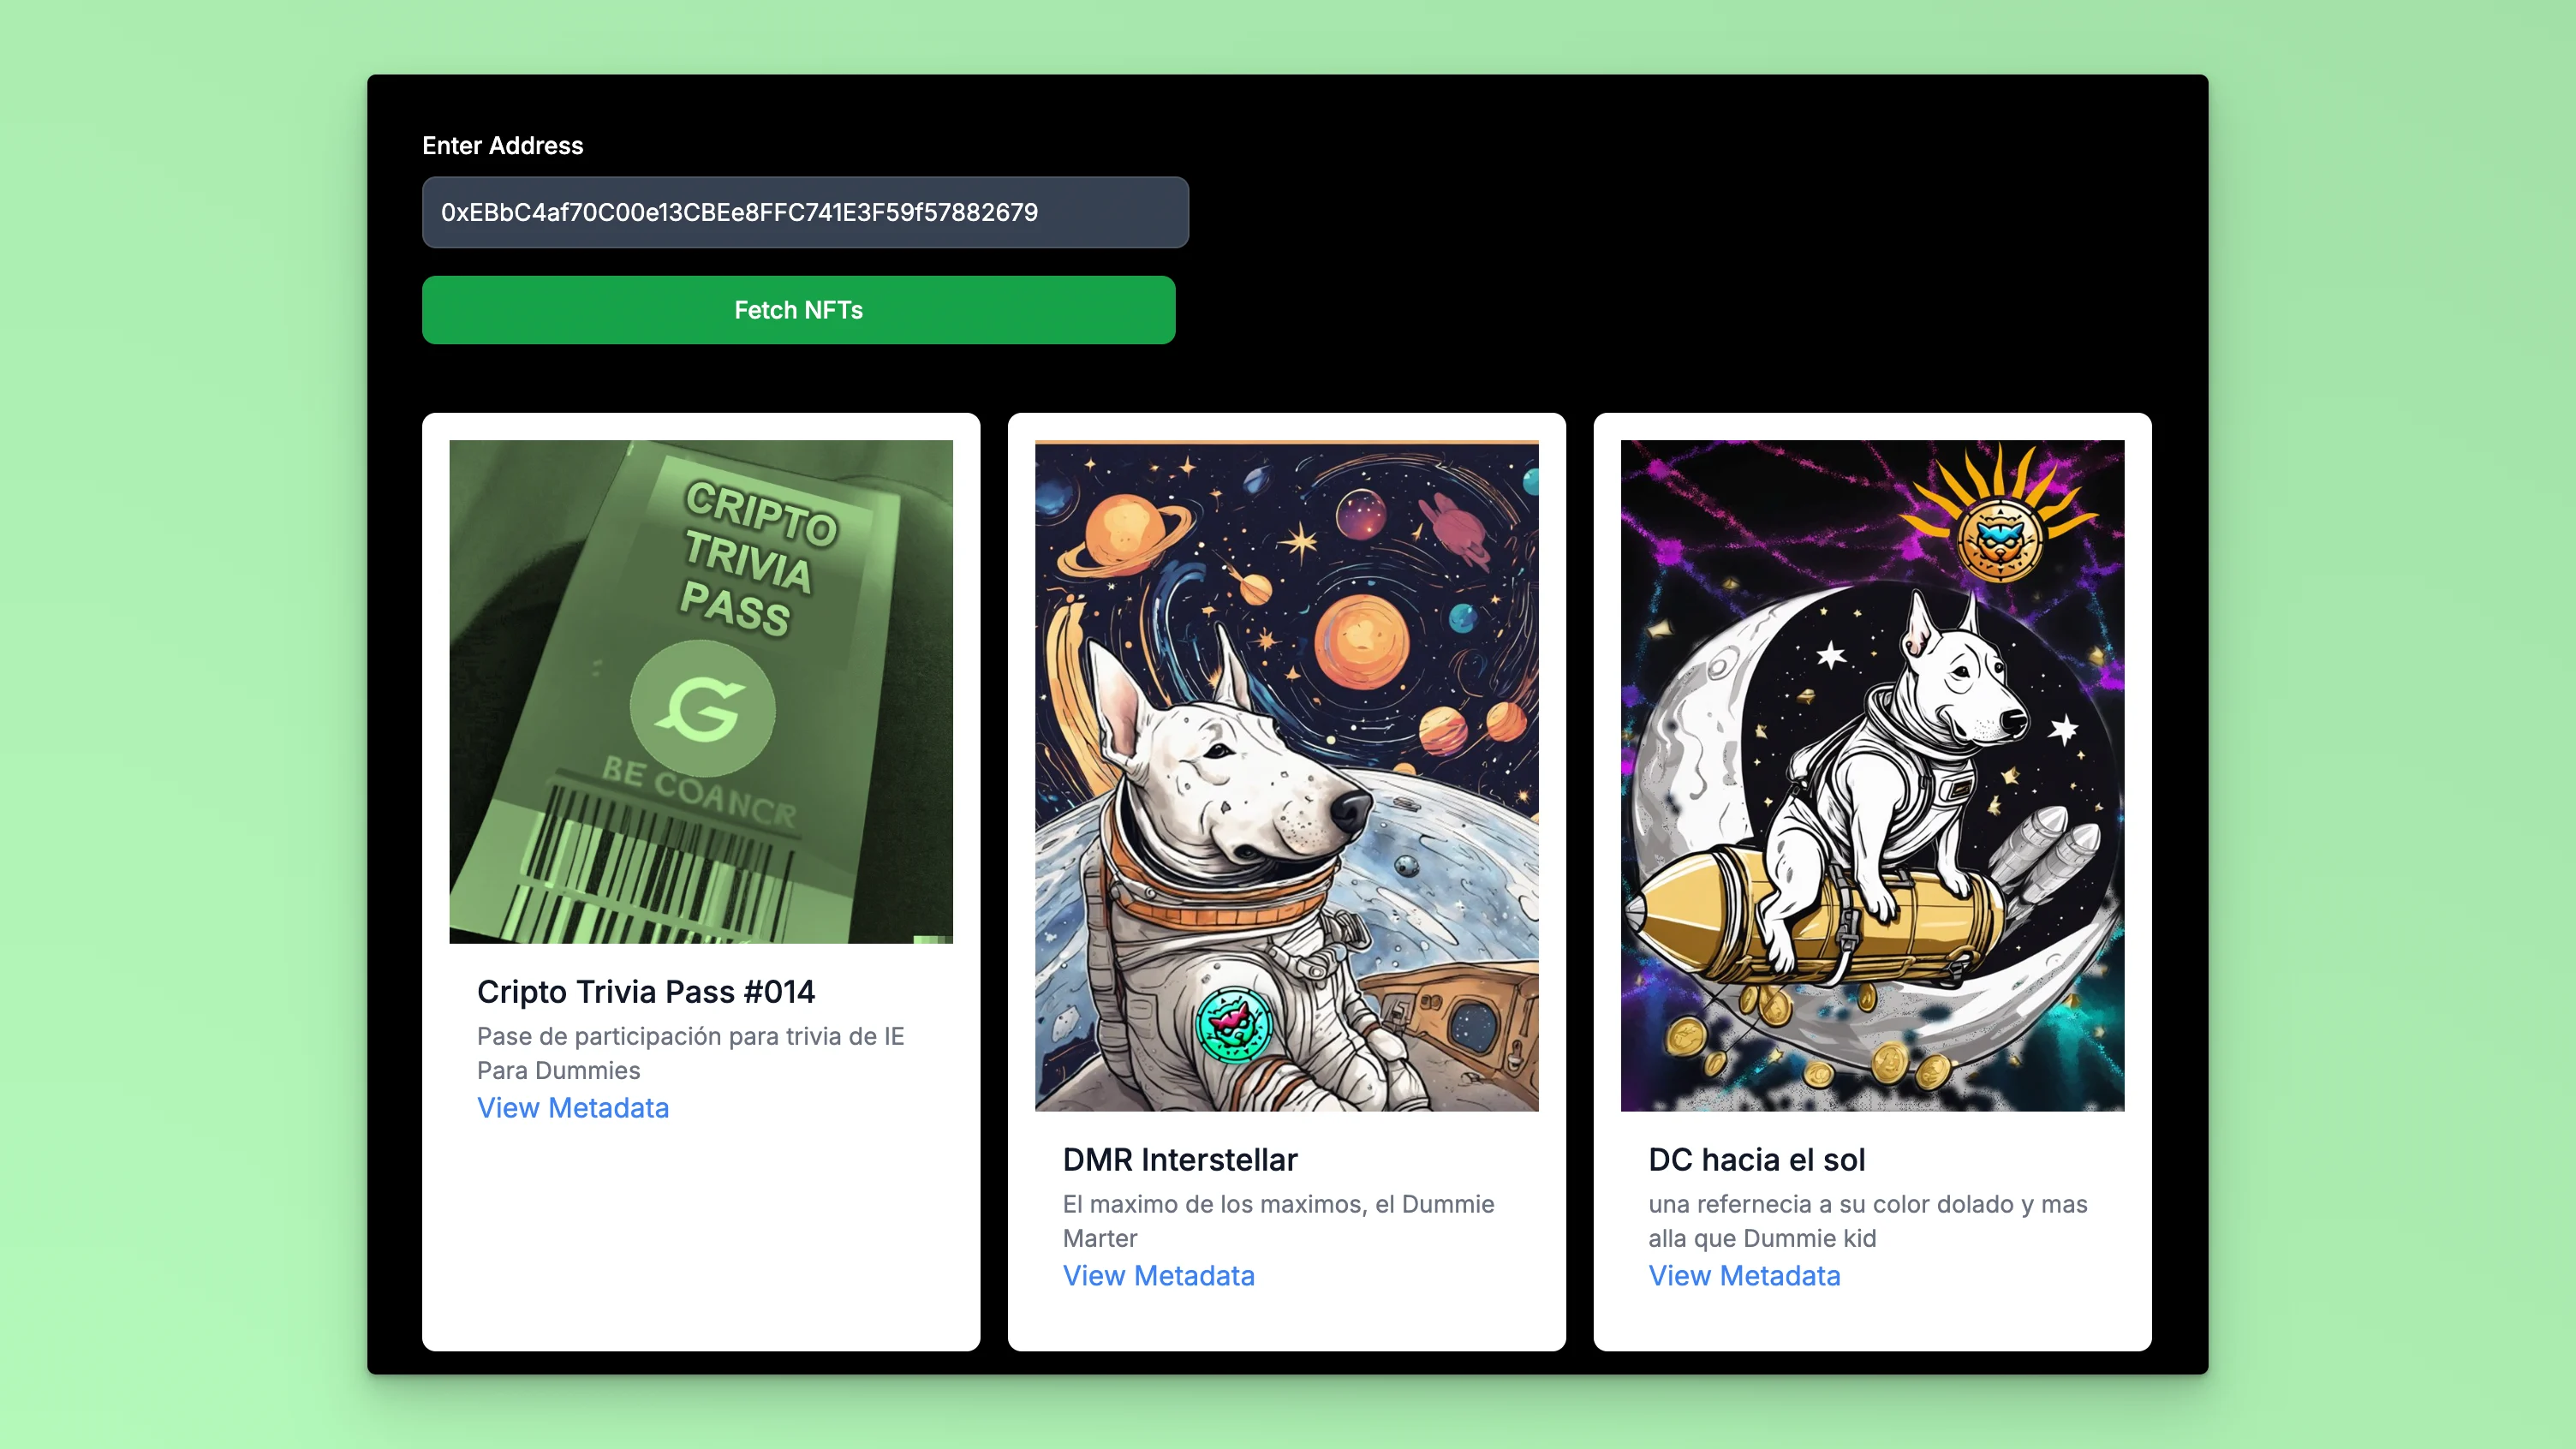
In this example tutorial, we are going to build a Form element that takes in any External Owned Address or Smart Contract Address and return its NFTs collections. We will use the Fetch API method to call the Fuse REST APIs and parse the results to a UI. The end point that we will use in this tutorial is the Get Non Fungible NFT Token Balances. The URL takes in the EOA or SCA, below is an example:https://api.fuse.io/api/v0/balances/nft-assets/0x07dc9cb1d2f8e7acf92c856cf43467936203f26a?apiKey=API_KEY
Replace API_KEY with your actual apiKey too see the response. Get an API KEY.
Step 3: Fetch the API response.
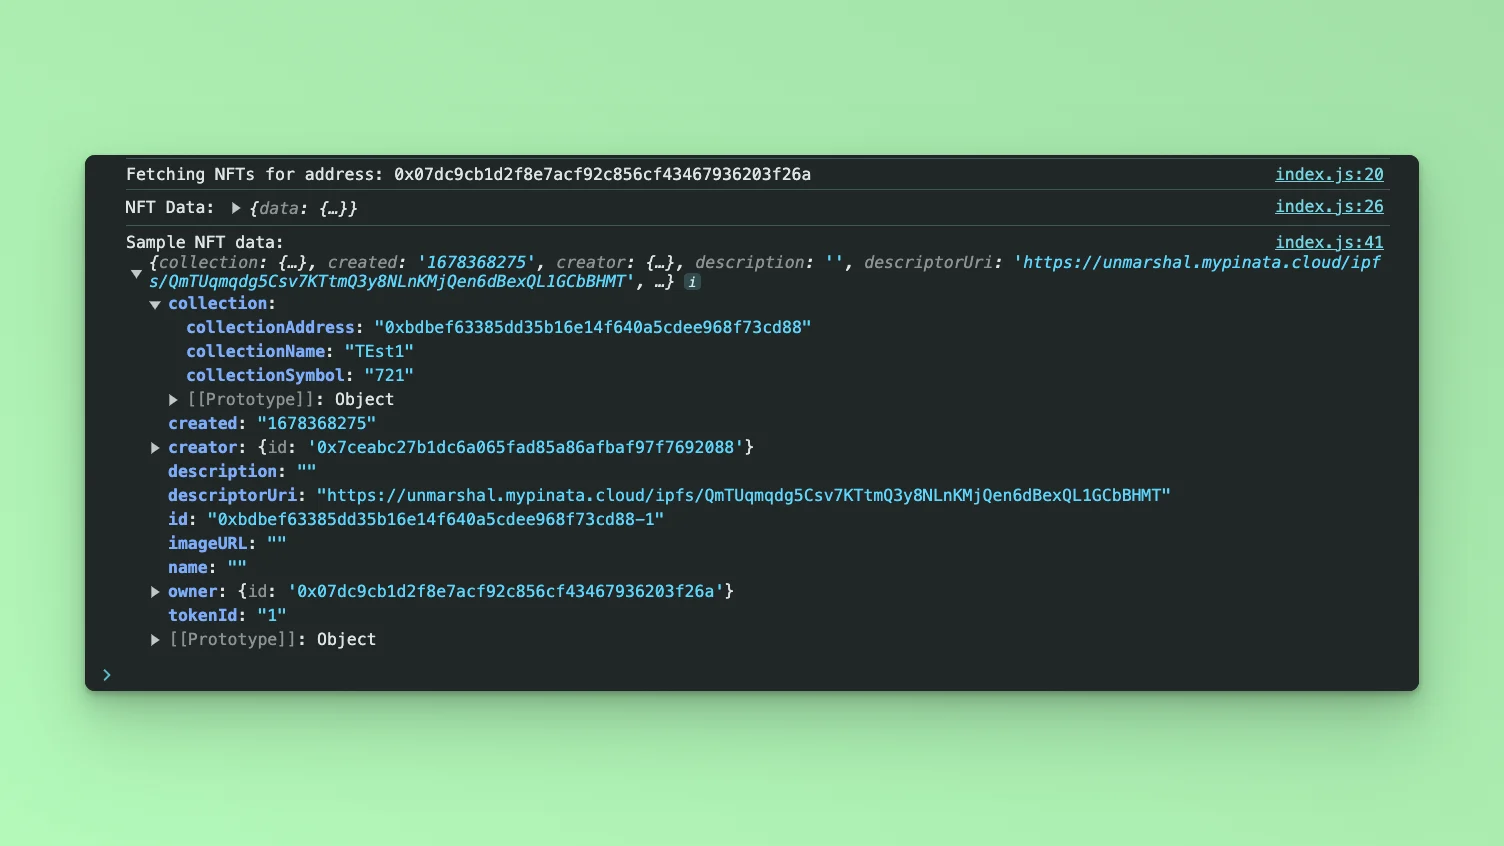
In this step, we will test calling the API and parsing the response to the web browser console. Add the following code to index.tsx before thereturn statement.
http://localhost:3000 and open the developer console, you will find the results logged to the console.
Step 4: Display response via UI.
Create a state to store the responses from the Fetch call.Step 5: Form handling.
In this step, we add a form component with an input where users can enter any address instead of hard coding it to the URL. Add a form component to the application. Copy and paste the following code snippet inside the<main> component, before the map div in the index.tsx file.
address is received from the Form input, it will be parsed to the API URL as a parameter address=${address} replacing the hardcoded address.
apiUrl, use backticks:
value and onchange arguments. We will set the state when calling onchange:
handleReturnNFTs:
useEffect to handle page side-effects:
http://localhost:3000 in your browser to see the application in action. You should see a Form. When you enter an address and click Submit, the response will be displayed.